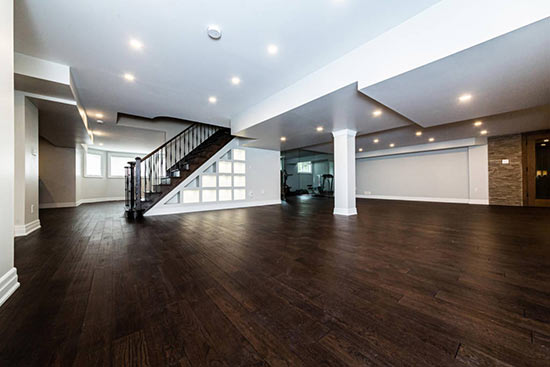
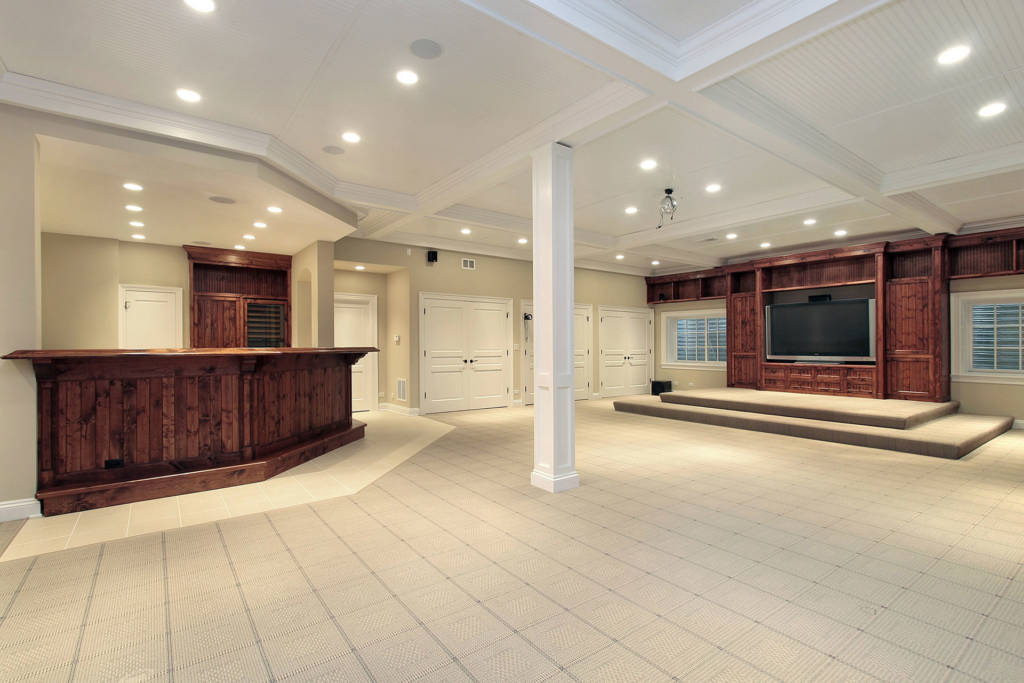
Your basement has the potential to be transformed into a cozy space for you and your family members to use. This guide includes steps to finishing a basement and will provide you with the details and discuss concerns you may have, to help you tackle your new project: basement finishing. Converting your basement space will not only add value to your home but also have it become a popular hangout spot. Join the newest trend and let us help you transform your space. The guide below will be the steps you need to follow to complete your dream basement.
What to Do Before You Start Renovating Your Basement (permits, Inspect Etc..)
Two questions often asked is: steps to finishing a basement and how to finish a basement yourself? We will help you! Before you begin, design the layout that you would want to implement. Where will your furniture go? Where will the kitchen go? Any rooms? What is the flow and movement of the basement going to be like? This will allow you to visualize your space and keep you on track for when you begin. The steps to finish a basement are:
Step 1: Clean
Basements tend to be the spot everyone keeps their storage. The things you don’t want upstairs find a space in the basement and cause clutter. Clean it all up! Dispose of any trash, old appliances, find new spaces for the other boxes and items. Call your friends for help, hold a garage sale or even hire professionals to do it for you. This step will assist in finishing a basement.
Step 2: Conduct a Moisture Test in Your Basement
It is imperative to complete this moisture test before you begin finishing the basement floor. The benefits of this test will provide you with the information that will let you know if you need to waterproof your space or not. If you skip this, future leaks may come about and could cause more damage. Prevention is better than cure.


Step 3: Study Any Local Building Permits and Basement Building Codes
Once you have your layout design complete, do your research about any building permits you would need and any building codes you need to adhere to. There are many particular rules in building codes about structures, ceiling heights and safety measures that need to be implemented. Your layout and design may need to change based on which codes you do not meet. This is in place for the safety of you and your family. Once you are sure your basement meets the building code requirements, you will need to apply for the appropriate building permits to start working on your basement.
Step 4: Collect and Purchase Tools and Materials
There are a number of tools and materials you will need to purchase before you decide to officially start working on finishing your basement.
Tools:
Caulk gun, circular saw, masonry drill bit set, hearing protection, level, hammer, masonry drill, dust mask, safety glasses, sawhorse, step ladder, tape measure, utility knife, nail gun, drywall jack


Materials
Foamboard adhesive, foam insulation, duct tape, caulk filler, 2×4 boards to frame exterior walls, cement nails, frame nails, screws for the walls, drywalls, tiles (if it’s the design aesthetic you are going for), flooring (based on your design), wire, shims, wire cutters, plywood
The number of exact materials and amount varies on how big your basement is and the design you wish to achieve. Before you begin, take exact measurements of your basement space, and account for the number of walls you wish to put up, so you can purchase the correct amount.
Factors to Include Into Your Planning (headroom, Waterproofing, Soundproofing, Insulation…)
How Much Headroom Space Is Needed?
The building code requires a basement to have a 7 to 7½ feet clearance. If your current basement does not have this height, one possible solution is that you could dig up the flooring and lower the floor itself. It is a complicated and expensive job and may require professional assistance from a contractor. Another solution is, if it is possible for the ducts and pipes in the ceiling could be moved, creates overhead space that would help you adhere to the building code.
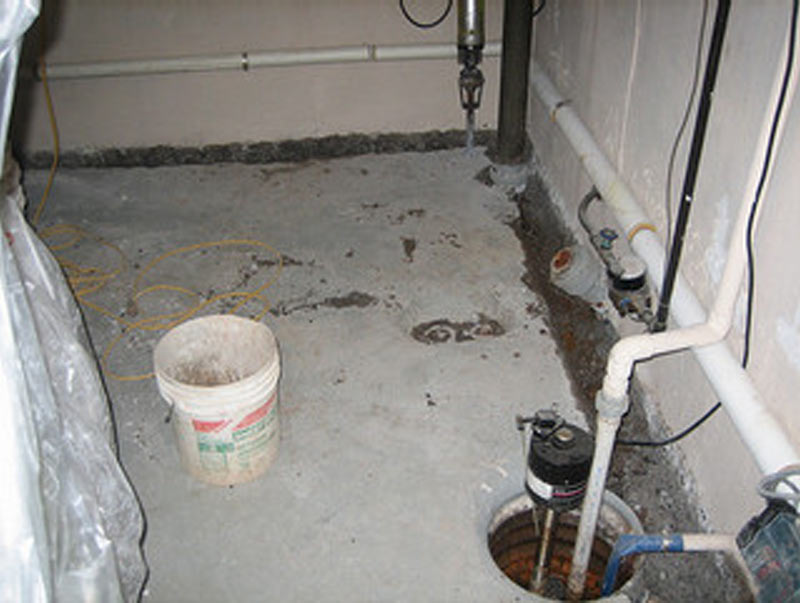
Be Smart and Have an Additional Sump Pump
In addition to your main pump, it is beneficial to have a backup battery for the main pump along with a second pump. In case the main pump has an issue; you always have a backup handy.
Waterproofing
Some quick solutions to waterproof your basement include:
- The paint and coating you use on your basement walls are waterproof based.
- The slope of your exterior garden leads the water away from your basement.
- Check on the exterior piping and make sure all gaps are filled up.
- Include a drain as a safety measure to ensure all rainwater is directed towards a storm drain.

- Check for any large cracks inside your basement and fill them in.
- Bring in a professional structural engineer for any cracks that are wider than 2 inches as the problem could an issue that only an expert can tackle.
Additional tip: To prevent any future problems, be safe and coat your exterior walls with a waterproof layered emulsion. This will help prevent any issues from arising in the future.
Insulating Your Pipes
Insulating your hot-water and cold-water pipes with foam will help prevent heat loss especially during the winter months and protect the drywall from condensation dripping onto it.

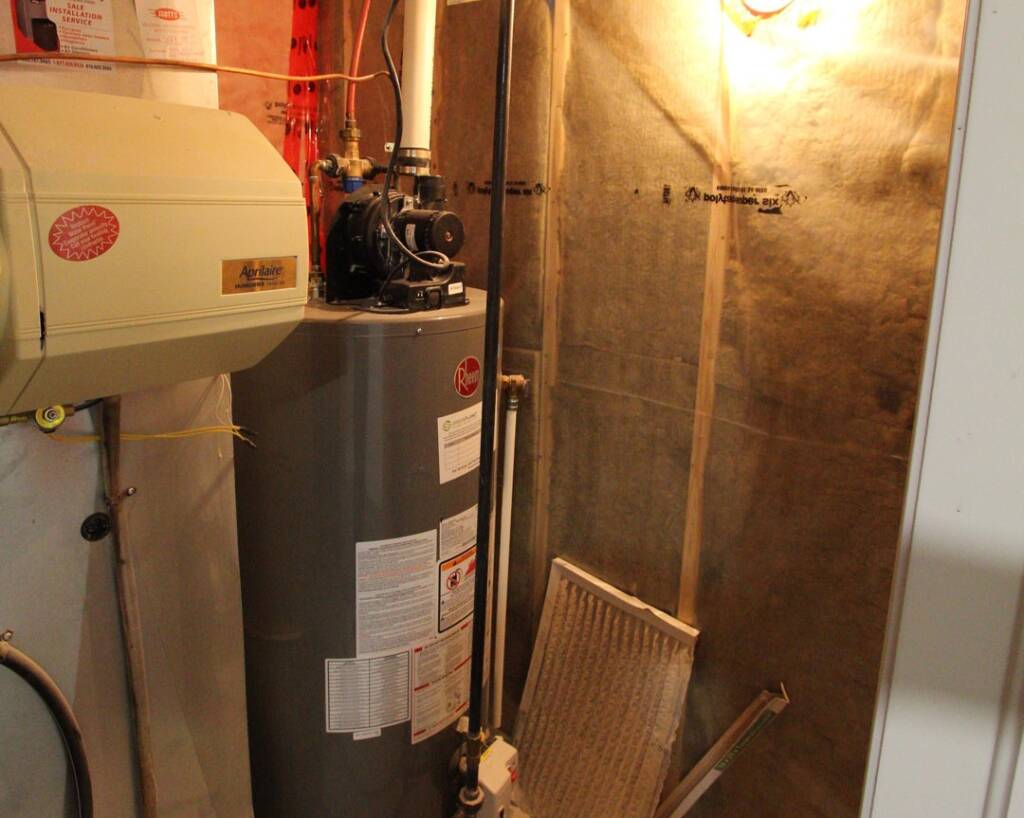
The Space Around Mechanics Is Important
This is for the times that your mechanicals need some upkeep, therefore, there should be enough room for a person to fit in. the ideal amount of space is between 2-3 feet.
Take Care of Mould!
Taking care of the moisture in the basement will help prevent any mould from occurring.

Steps to Finish Your Basement
If the walls in your basement are solely made of concrete, it is best to start here as your first step to finishing your basement. Tending to the walls of the basement will help make the space more comfortable as well as inviting.
Step 1: The Insulation Process
Install polystyrene foam insulation onto your foundation walls to insulate the basement. This is an effective and simple way to insulate the exterior walls of your basement.
- Cut the foam pieces according to your ceiling height and subtract ¼ inch as a buffer during insulation. During this process wear safety goggles and use a circular saw or utility knife
- Check to see if you cut it to the right height by placing it against the wall
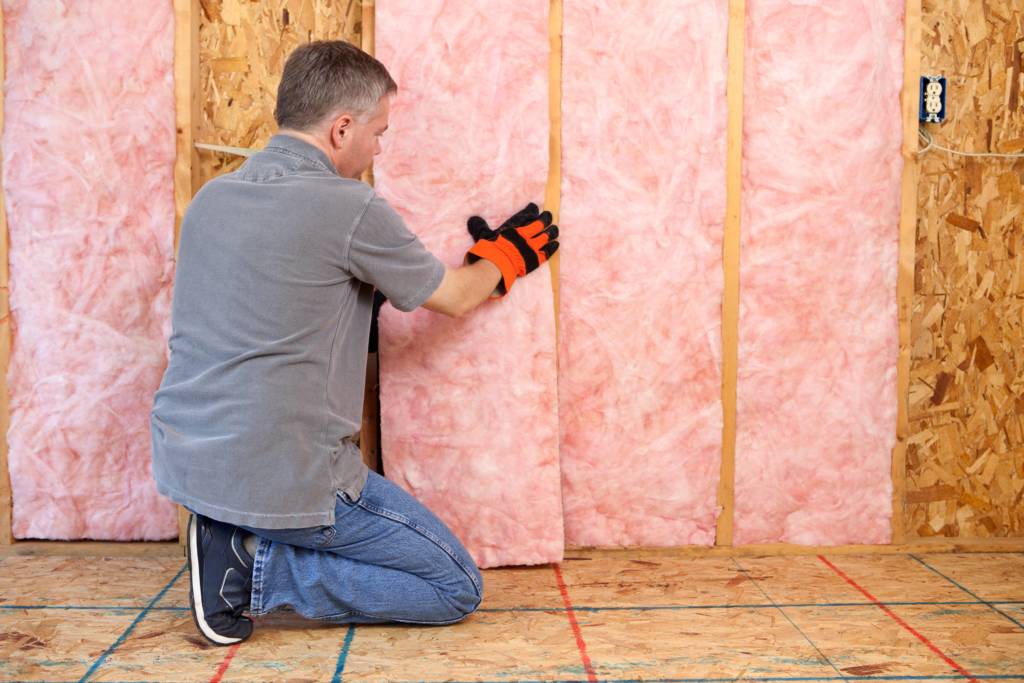
- Remove the foam and apply adhesive on it as an “S” shape beneath where you will place the foam. Allow it to sit for 30 seconds
- Now, place the foam onto the adhesive
- Repeat this step for the rest of the walls
- After installing the foam pieces, you should seal all the seams of the foam pieces together with duct tape
- Lastly, if there are gaps between the ceiling, the foam, corner and floors- seal them too
Step 2: How To Frame Your Walls
Start by cutting your 2×4’s to the right length. In addition to the ¼ inch buffer, further, subtract the thickness of the top and bottom plates for the vertical joists.
- Your walls that run corresponding to your floor joists have to be installed with blocking in between the wall and the overhead joists. This will be done by placing a fitted 2×4 and nailing it to the joists. These blocks will be utilized to attach the frames and need to be installed every 2 feet.
- Mark an ‘X’ that is 4 inches from the wall. This will be where the outer edge of the frame will be aligned to.
- Construct the wall with the bottom plate near the wall on the ground. Using a framing nailer, connect the wall joists every 16 inches to the top and bottom frames. Shift wall joists to allow room for doors and windows as needed.
- Bring up the wall and connect the bottom plate to the floor. This part will require you to use masonry nails, a masonry drill and a hammer. It is a must to wear protective gear for your safety.
- Using your framing nailer and a stepladder, connect the top point to the above joists or blocks. As you work your way across the wall, before nailing the plate to the above joists, keep a level vertically to each wall joist to ensure the wall is sitting flat. If the wall is not straight, place a shim in between the top plate at the ceiling joists and then use the framing nailer to connect it.
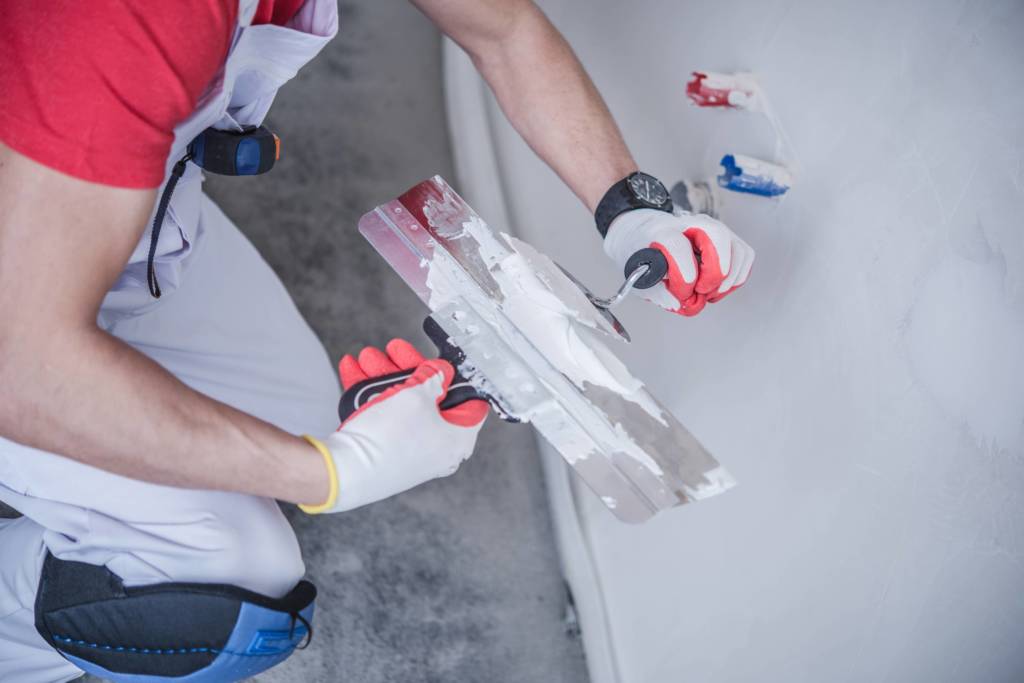
Step 3: Installing Drywall
You should start by hanging your drywall after assembling your walls.
Using a drywall knife, consider any outlets or valves by measuring their location and cutting entry holes into the drywall board.

- For your windows, after you have nailed the sheet to the wall, calculate the measurements and cut the required form out of the drywall.
- Hang your drywall horizontally which will require fewer seams to finish and will make your work a lot easier.
- Measure to ensure that each piece of drywall ends up on a stud. Trim where appropriate, using your utility knife.
- Use drywall screws and a drill to attach the drywall to each stud, working to ensure not to tear the surface of the drywall paper. You shouldn’t be able to see plaster over the head of a nail. Using calk to protect the joints and screw the heads. Lastly, seal the seams with drywall tape and then repeat the process of caulking.
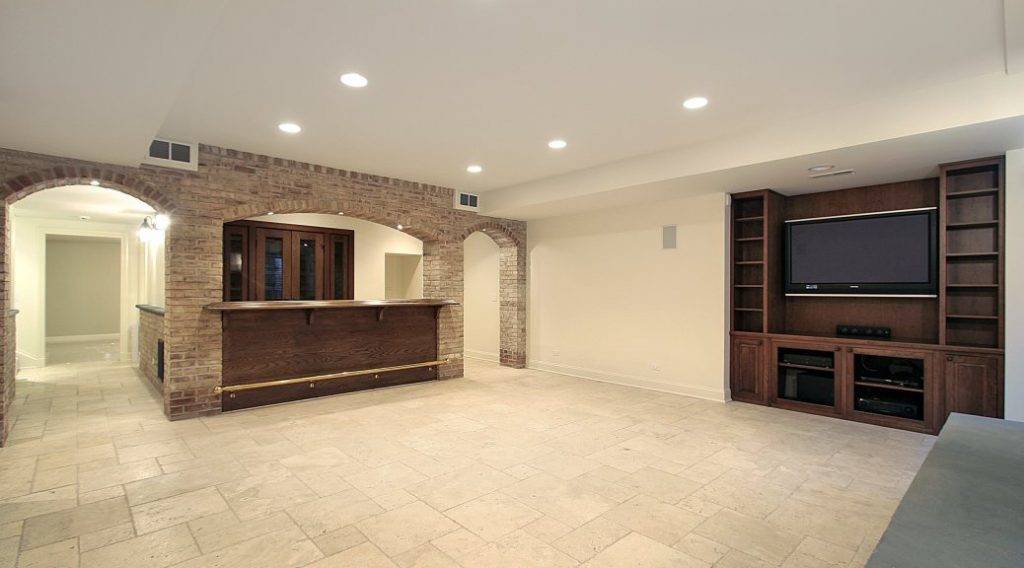
How to Finish the Basement Floor
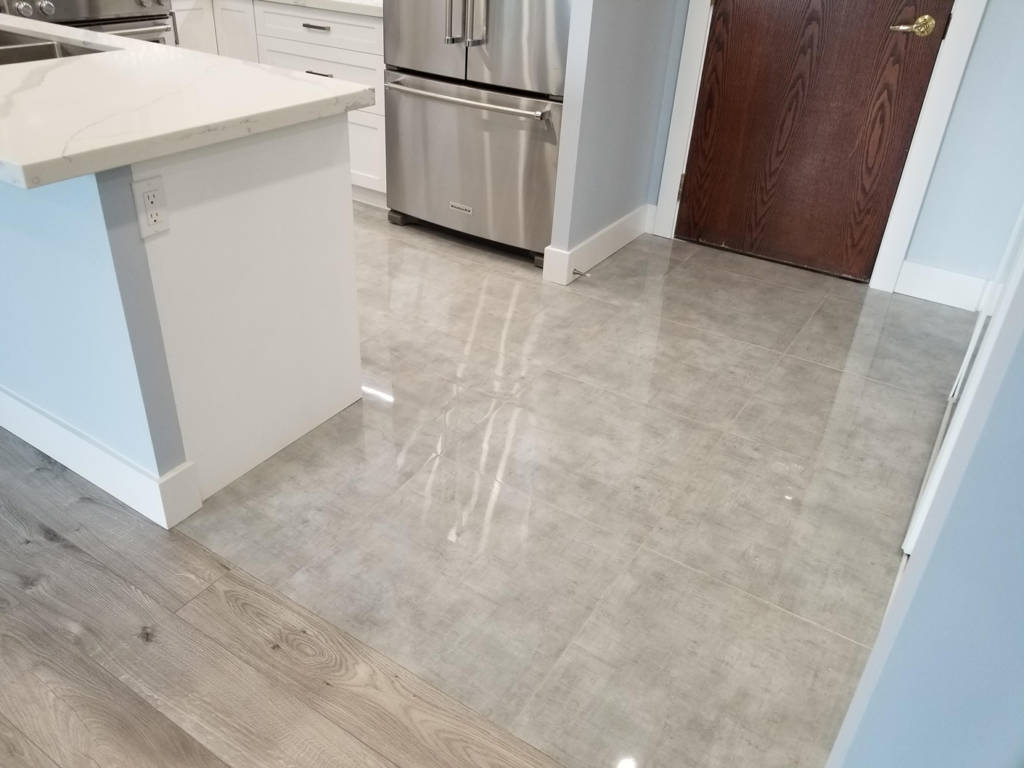
Choosing the Type of Floor:
Use materials that are waterproof for your basement flooring as it will protect your basement from any future damage that could arise from a leak or a storm flood. Furthermore, choose your flooring based on the design aesthetic you wish to achieve. There are numerous options out there to choose from, some including tiles, carpet or even vinyl. Vinyl (recommended) is a waterproof option that is durable and provides the aesthetic of real-looking wood.
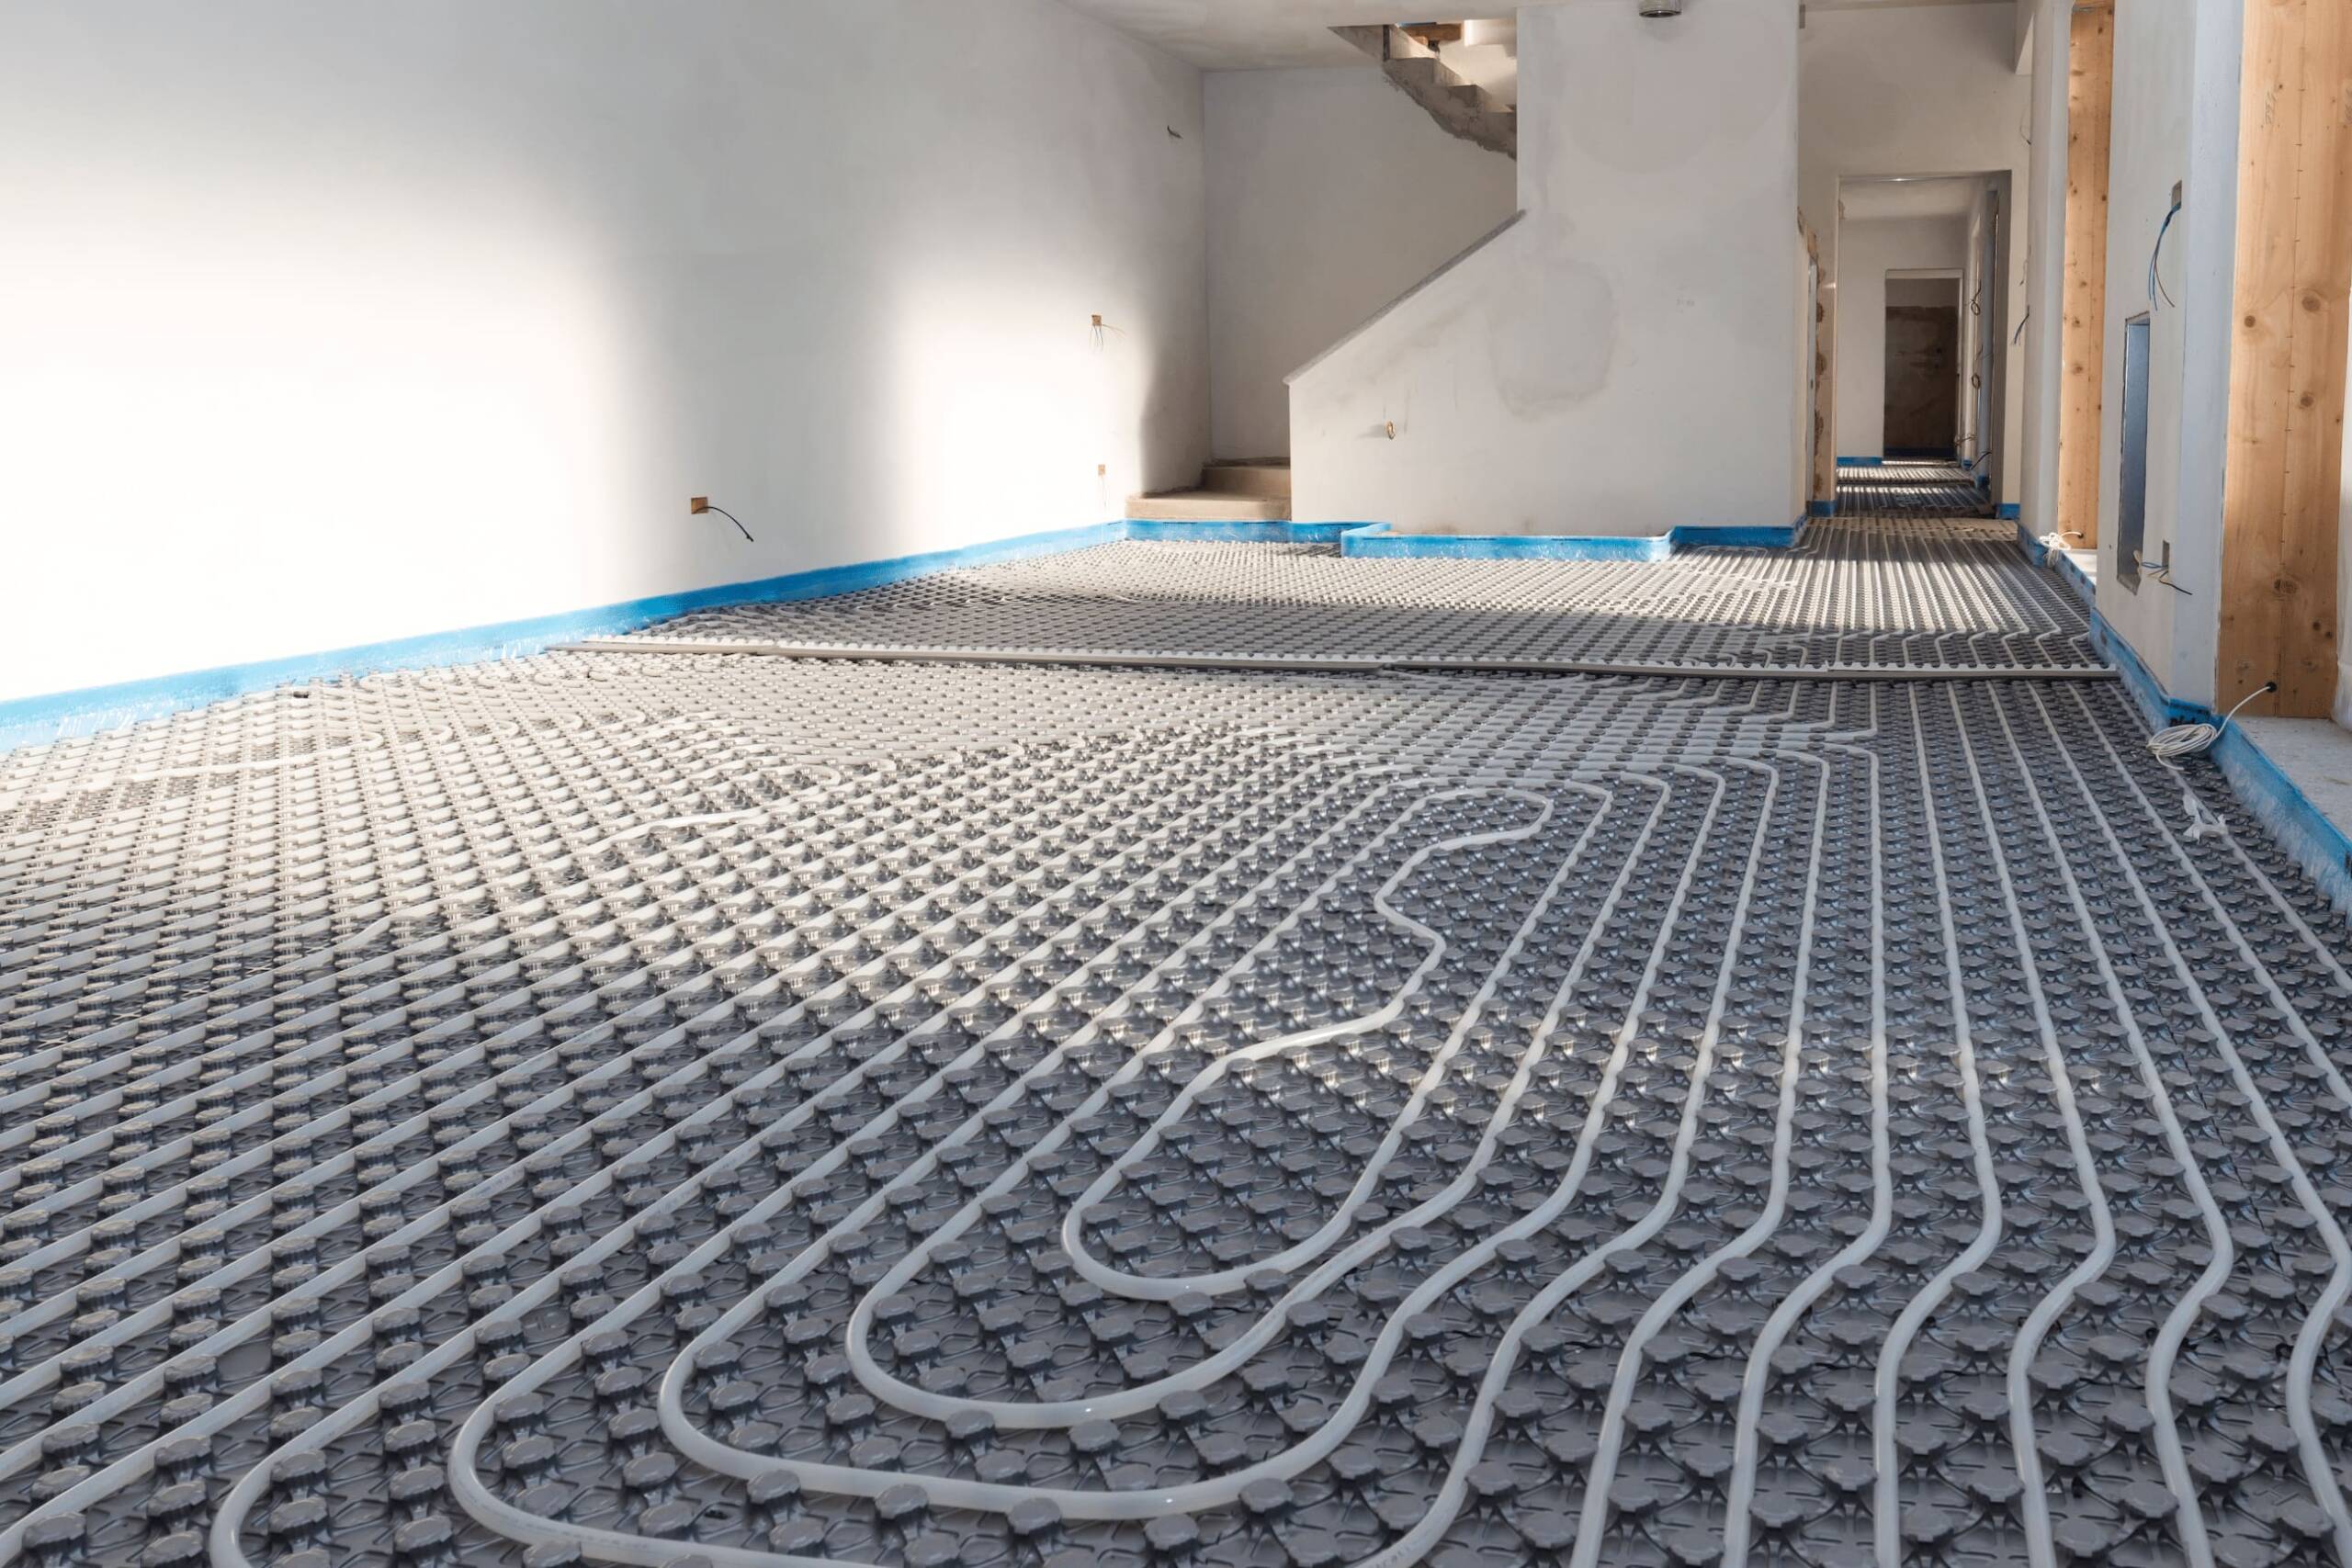
Add a Subfloor as A Moisture Barrier
- Put down polystyrene foam sheets using glue in the same manner you used to insulate the walls.
- Lay plywood sheets on top of the insulation. Using your masonry drill and screws, protect the new subfloor.
- You can now use it as a base for adding practically every sort of flooring you want after the plywood is finished.
How to Finish Your Basement Ceiling
You would need to cover the cables, vents and pipes that are visible on your basement ceiling for a finished look in your basement, while also allowing access to them if desired. Choose your products and mount the ceiling of your choosing following the steps below.
Choose Your Ceiling Type
Drop-Ceiling: The inexpensive and simple alternative that you see in a lot of homes is a drop ceiling. Although also having access to overhead services, it performs the task of protecting uncovered drains and floor joists. If you already have a low ceiling, paint the drywall and conserve your space instead.
Drywall Ceiling: Drywall offers a finished ceiling that is better for space conservation, but needs some extra work to enable accessibility to pipe and ductwork.

Installing Your Ceiling
For a tile ceiling, a hammer, nails, cable, wire cutters and an assembly kit would be needed for installation. From there, it’s only a case of following the manufactures directions.
- You will require a drywall jack or an additional pair of hands for a drywall ceiling. Otherwise, you would follow about the same procedure as completing the walls in the basement.
- For potential access to pipes and ventilation, you may still need to leave an access hole in the drywall.
- For a polished look, cover it with an air gate.
Congratulations! After completing the steps to finishing a basement, the finished basement is ready to be transformed into the new hang-out spot. The next step is decorating the space to your liking. Our website also has more information on basement trends and aesthetics that would assist you in decorating your basement.